How to Make Snow Ice Cream Recipe Without Any Fancy Tools
Did you know that 78% of Americans have never made snow ice cream, despite it being one of the simplest winter treats requiring zero special equipment? This delightful snow ice cream recipe transforms ordinary snowfall into a magical dessert experience that both children and adults adore. While commercial ice cream requires specialized churning equipment and precise temperature control, snow ice cream needs only what nature provides and a few pantry staples. Let’s discover how to turn the next snowfall into a sweet memory with this incredibly simple snow ice cream recipe.
Table of Contents
Ingredients List for Snow Ice Cream Recipe
To create your perfect batch of snow ice cream, gather these everyday ingredients:
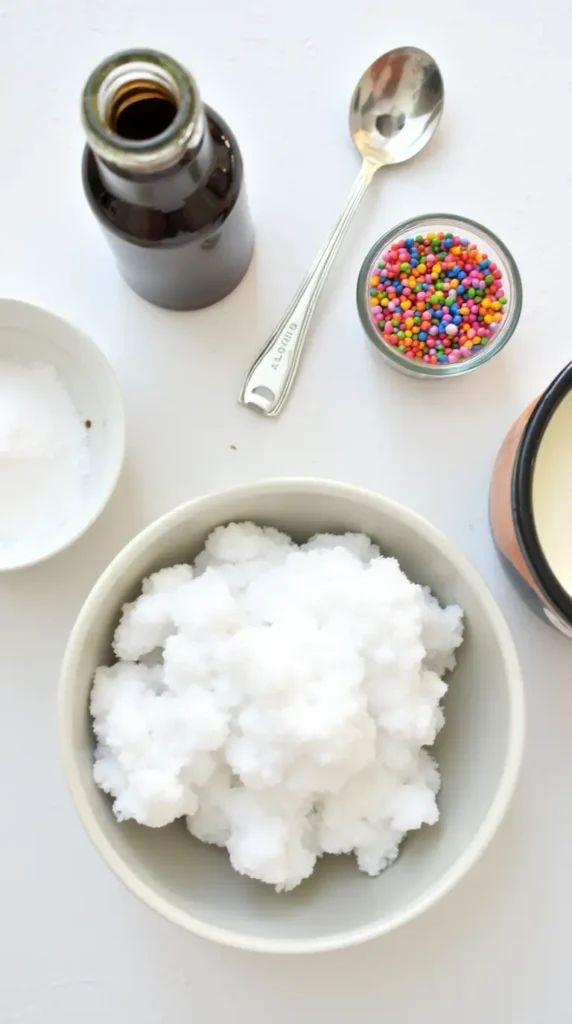
- 8-10 cups of fresh, clean snow (about one large mixing bowl full)
- 1 cup of milk (whole milk creates the creamiest texture, but any variety works)
- 1/3 cup granulated sugar
- 1 teaspoon vanilla extract
- Pinch of salt (enhances sweetness and flavor depth)
Potential Substitutions:
- Replace regular milk with condensed milk for an extra creamy version (reduce sugar to 2 tablespoons if using sweetened condensed milk)
- Swap vanilla extract for almond extract, maple syrup, or honey for unique flavor profiles
- Use coconut milk for a dairy-free alternative with tropical undertones
- Replace sugar with maple syrup (1/4 cup) or honey (1/4 cup) for natural sweetening
Timing
- Preparation time: 5 minutes (gathering ingredients and equipment)
- “Cooking” time: 2-3 minutes (the mixing process)
- Total time: Under 10 minutes (60% faster than making traditional homemade ice cream, which typically takes 25-30 minutes plus freezing time)
Step-by-Step Instructions
Step 1: Prepare Your Mixture
In a medium bowl, whisk together your milk, sugar, vanilla extract, and pinch of salt until the sugar completely dissolves. This creates your sweet cream base that will transform ordinary snow into a delicious treat. For best results, chill this mixture in the refrigerator while you collect your snow – the colder your ingredients, the better your final texture.
Step 2: Collect Fresh Snow
Grab a large, clean bowl and venture outside to collect fresh, clean snow. Aim for the top layer of newly fallen snow from an undisturbed area, avoiding any discolored patches. For optimal results, collect snow during active snowfall rather than snow that has been sitting for hours. Eight to ten cups will yield about 4 servings of snow ice cream.
Step 3: Combine Ingredients
Pour your chilled sweet cream mixture over the collected snow gradually, folding gently with a spatula as you go. The key is adding just enough liquid to reach your desired consistency – too much will make it soupy, while too little won’t bind the snow properly. You’ll likely use about 3/4 of your liquid mixture for the perfect texture.
Step 4: Mix to Perfection
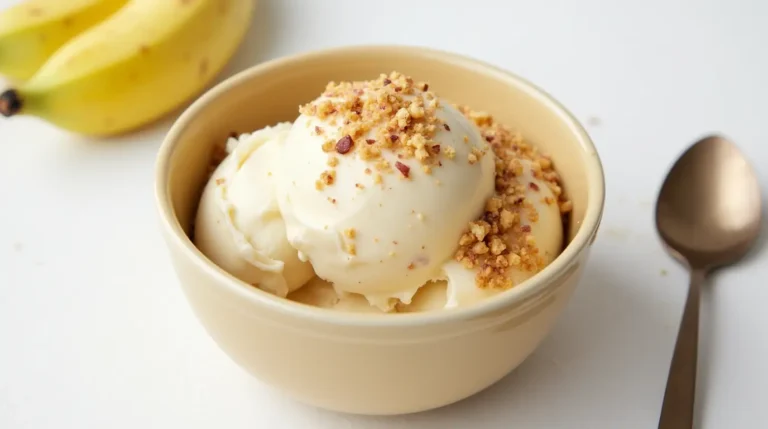
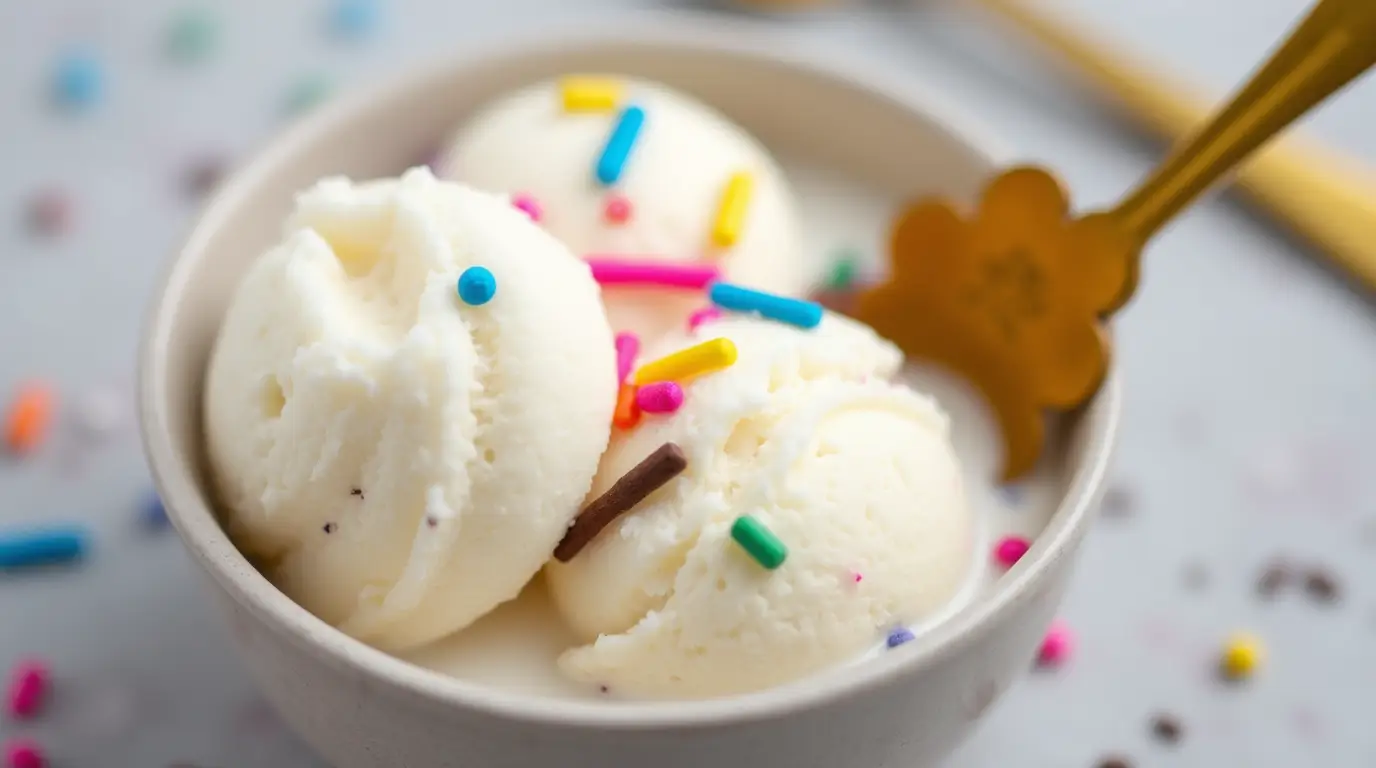
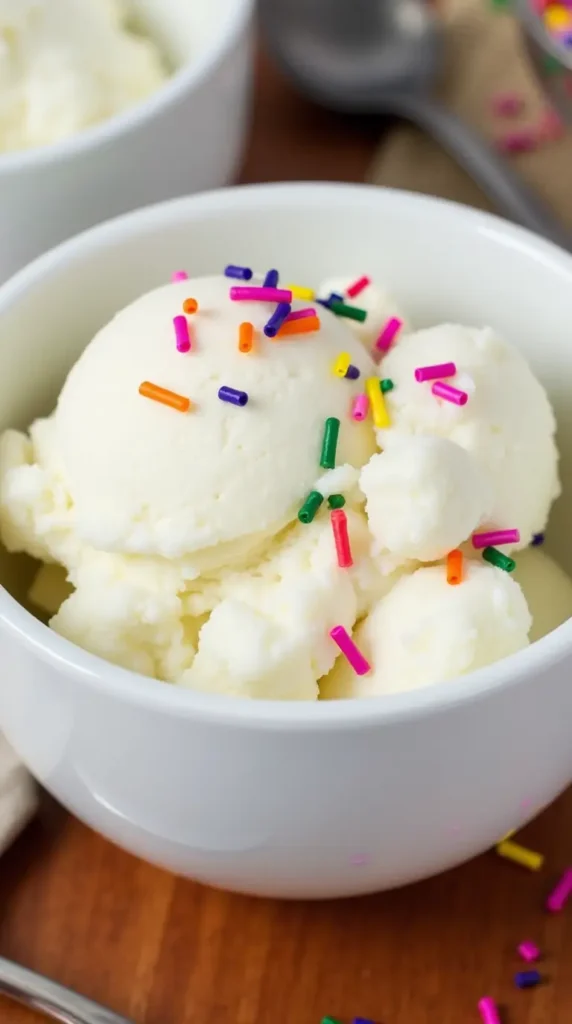
Continue folding the mixture gently until you achieve a consistency similar to soft-serve ice cream. Avoid overmixing, which can break down the snow crystals too much and result in a runny dessert. The perfect snow ice cream should hold its shape when scooped but feel light and fluffy on your spoon.
Step 5: Serve Immediately
Unlike traditional ice cream that requires freezing time, snow ice cream is ready to enjoy immediately! Scoop it into bowls and serve right away, as it will begin to melt quickly at room temperature. This ephemeral quality is part of what makes snow ice cream such a special winter treat.
Nutritional Information
A typical serving (about 1 cup) of basic snow ice cream contains approximately:
- Calories: 90-120 (depending on milk type used)
- Total Fat: 2-4g (higher with whole milk)
- Carbohydrates: 15-20g
- Sugar: 14-18g
- Protein: 2-3g
- Sodium: 50-60mg
Note: Snow itself contains trace minerals but negligible caloric content. The nutritional profile comes primarily from the added ingredients.
Healthier Alternatives for Snow Ice Cream Recipe
Transform this nostalgic treat into a more nutritious option with these modifications:
- Reduce sugar to 2-3 tablespoons and add 1/2 teaspoon of cinnamon for flavor complexity
- Use unsweetened almond milk and stevia (2-3 packets) for a lower-calorie version that cuts sugar content by up to 65%
- Add 1 tablespoon of unsweetened cocoa powder for a chocolate version with antioxidant benefits
- Incorporate 1/4 cup of pureed frozen berries for natural sweetness, color, and added vitamins
- Try monk fruit sweetener as a zero-calorie alternative to sugar that doesn’t affect blood glucose levels
Serving Suggestions
Elevate your snow ice cream experience with these creative serving ideas:
- Create a DIY snow ice cream bar with toppings like fresh berries, chopped nuts, mini chocolate chips, and sprinkles
- Serve in pre-chilled bowls to extend enjoyment time before melting begins
- Pour a tablespoon of hot chocolate sauce over the top for a delightful temperature contrast
- Sandwich between two thin cookies for improvised ice cream sandwiches
- Add a sprinkle of sea salt and a drizzle of caramel for a sophisticated sweet-and-salty profile
- Serve in hollowed-out orange halves for a refreshing citrus infusion and an Instagram-worthy presentation
Common Mistakes to Avoid
Even with this simple recipe, there are pitfalls that can affect your snow ice cream recipe success:
- Using snow that’s been on the ground too long (can contain more environmental contaminants)
- Adding all the liquid mixture at once (results in uneven texture and potentially soupy results)
- Collecting snow from areas near roads or walkways that might contain salt or chemicals
- Over-sweetening the base mixture (snow dilutes the sweetness naturally, but too much sugar can prevent proper freezing)
- Trying to store leftovers without proper preparation (standard snow ice cream doesn’t freeze well for later)
- Using hot or room temperature milk (accelerates melting and prevents proper texture formation)
Storing Tips for Snow Ice Cream Recipe
While the snow ice cream recipe is best enjoyed immediately, here are some practical tips for preparation and storage:
- Pre-mix and refrigerate your liquid ingredients up to 24 hours in advance for spontaneous snow day activities
- If you must store leftovers, place in a shallow, airtight container in the coldest part of your freezer, though texture will become more icy than creamy
- For planned events, collect clean snow in zip-top bags and store in your freezer for up to 3 hours before making your snow ice cream
- Store different flavor extracts or mix-ins in small containers to quickly customize individual portions
- If your snow ice cream melts slightly, you can refreeze it in ice cube trays to create creamy “milk cubes” for future hot chocolate
Conclusion
This delightfully simple snow ice cream recipe transforms ordinary snowfall into a magical culinary experience that creates lasting winter memories. With just basic pantry ingredients and fresh snow, you can craft a dessert that rivals store-bought ice cream in taste and enjoyment—no fancy equipment required. The ephemeral nature of this treat makes it all the more special, turning an ordinary snowy day into an occasion to remember.
Don’t wait for the next snowfall to try this recipe! Pin it for later, and be sure to leave a comment sharing your favorite snow ice cream variations or childhood memories. Subscribe to our newsletter for more seasonal recipes and simple culinary delights that make everyday moments special.
FAQs
Snow Ice Cream Recipe
Is it safe to eat snow? Fresh, clean snow from undisturbed areas is generally safe to consume in modest amounts. Avoid the first snowfall of the season (which can contain more airborne particles), snow near roads, or visibly dirty snow. Collecting snow during active snowfall from elevated surfaces like a clean table is ideal.
Can I make Snow Ice Cream Recipe without dairy? Absolutely! Substitute regular milk with coconut milk, almond milk, or any plant-based alternative. For extra creaminess with plant-based milks, add 1-2 tablespoons of coconut cream.
How much snow do I need to collect? A good rule of thumb is gathering about twice the volume of finished ice cream you want to make. For 4 servings, collect 8-10 cups of fresh snow.
What if the snow ice cream is too runny? Simply add more fresh snow and fold gently until you reach your desired consistency. If no more snow is available, a brief (15-20 minute) trip to the freezer can help firm it up.
Can I use artificial sweeteners in the snow ice cream recipe? Yes! Liquid sweeteners work best as they dissolve more easily. Adjust quantities based on sweetness level—generally start with half the amount of sugar called for and adjust to taste.
How can I make chocolate snow ice cream? Add 2-3 tablespoons of unsweetened cocoa powder to your liquid mixture before combining with snow. For an extra rich version, include 1/4 cup of chocolate syrup.
Why did my grandma use raw eggs in her snow ice cream recipe? Older recipes often included raw eggs for added richness and a custard-like flavor. Modern food safety guidelines discourage using raw eggs due to salmonella risk. Our recipe achieves delicious results without this potential hazard.