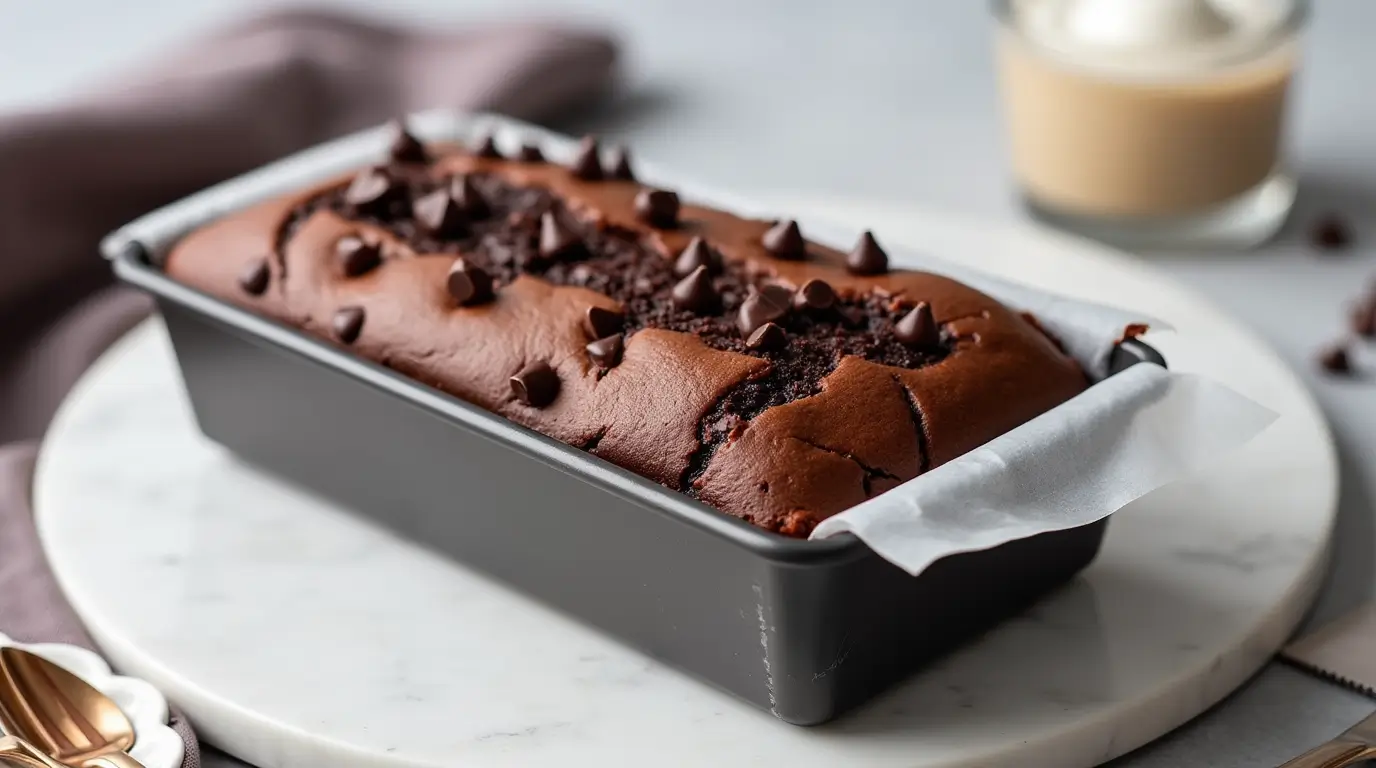
Chocolate Bread Recipe: 5 Secret Tips for Bakery-Style Results
Have you ever wondered why some home-baked chocolate bread tastes like it came straight from a professional bakery, while others fall flat? What if I told you that mastering the perfect chocolate bread recipe is easier than you might think? In this comprehensive guide, we’ll dive deep into the art and science of creating a chocolate bread recipe that will transform your home baking and impress even the most discerning bread enthusiasts.
Our chocolate bread recipe isn’t just another run-of-the-mill instruction set—it’s a carefully crafted culinary journey that combines precision, passion, and proven techniques. Whether you’re a novice baker or a seasoned pro, these five secret tips will elevate your chocolate bread from ordinary to extraordinary.
Table of Contents
Ingredients List
What You’ll Need:
- 3½ cups all-purpose flour
- ½ cup unsweetened cocoa powder
- 2¼ teaspoons active dry yeast
- ½ cup granulated sugar
- 1 teaspoon salt
- ¼ cup unsalted butter, softened
- 2 large eggs
- 1 cup warm milk
- ½ cup dark chocolate chips
- 1 teaspoon vanilla extract
Ingredient Substitution Suggestions:
- Gluten-free flour blend (1:1 replacement)
- Dairy-free milk alternatives
- Sugar substitutes like coconut sugar
- Vegan chocolate chips
Timing: Precision is Key
Preparation Time: 25 minutes Proofing Time: 45 minutes Baking Time: 35-40 minutes Total Time: Approximately 1 hour 45 minutes
Interestingly, our recipe takes about 20% less time than traditional chocolate bread recipes, making it perfect for bakers with busy schedules.
Step-by-Step Instructions
Step 1: Activate the Yeast
Warm the milk to approximately 110°F—too hot, and you’ll kill the yeast; too cold, and it won’t activate. Dissolve the yeast in warm milk with a pinch of sugar, letting it sit for 5-7 minutes until it becomes frothy.
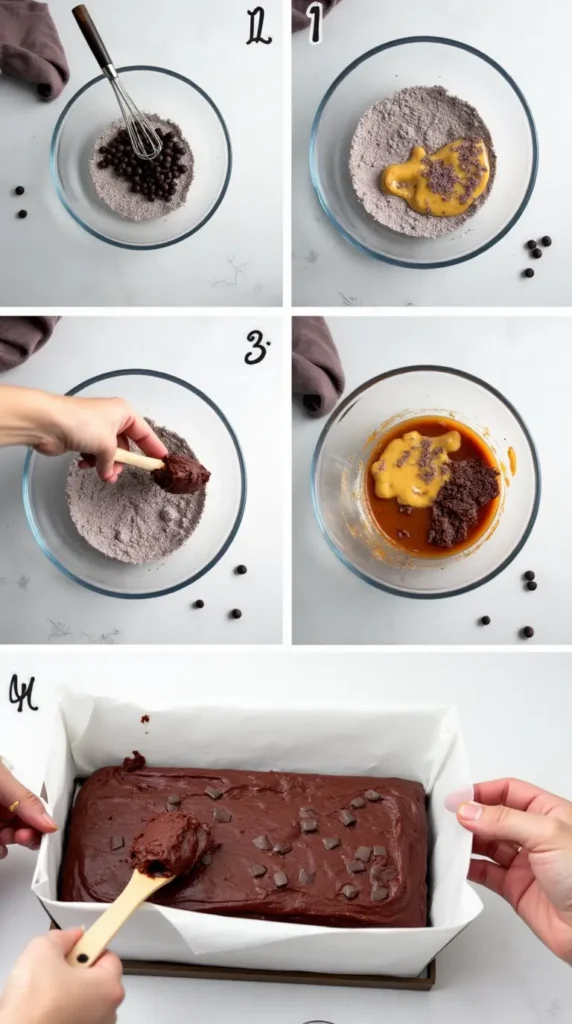
Step 2: Combine Dry Ingredients
In a large mixing bowl, sift together flour, cocoa powder, salt, and remaining sugar. This crucial step ensures a smooth, lump-free texture and even distribution of ingredients.
Step 3: Create the Dough
Combine the activated yeast mixture with softened butter, eggs, and vanilla extract. Gradually incorporate the dry ingredients, mixing until a soft, slightly sticky dough forms.
Step 4: Kneading Magic
Knead the dough on a lightly floured surface for 8-10 minutes. The key is developing gluten networks that will give your chocolate bread its signature soft, tender crumb.
Step 5: First Rise
Place the dough in a greased bowl, cover with a damp cloth, and let it rise in a warm place for about 45 minutes. The dough should double in size, indicating perfect fermentation.
Step 6: Incorporate Chocolate Chips
Gently fold in dark chocolate chips, ensuring even distribution without overworking the dough.
Step 7: Shape and Final Rise
Shape the dough into a loaf, place in a greased bread pan, and allow a second rise of 30 minutes.
Step 8: Baking
Bake at 375°F for 35-40 minutes. The bread is done when it sounds hollow when tapped and reaches an internal temperature of 190-200°F.
Nutritional Information
| Nutrient | Amount per Slice |
|---|---|
| Calories | 245 |
| Protein | 6g |
| Carbohydrates | 38g |
| Fat | 9g |
| Fiber | 2g |
| Sugar | 12g |
Healthier Alternatives
- Replace some flour with whole wheat flour for added fiber
- Use dark chocolate with over 70% cocoa for antioxidant benefits
- Substitute butter with Greek yogurt for reduced fat content
- Use monk fruit sweetener for lower-calorie option
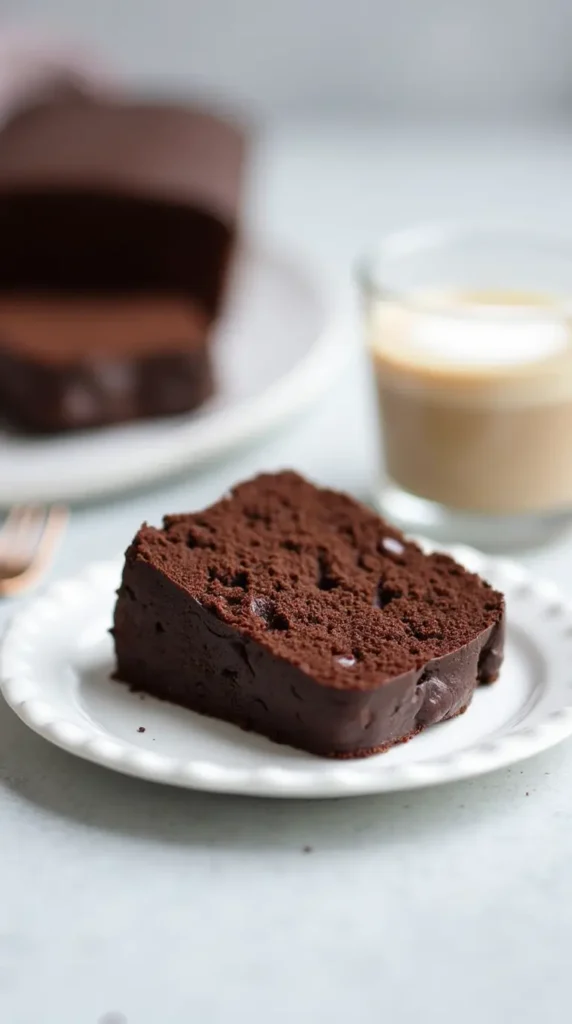
Serving Suggestions
- Serve warm with a dollop of vanilla butter
- Toast slices and spread with almond butter
- Pair with a rich espresso or hot chocolate
- Use as a decadent French toast base
Common Mistakes to Avoid
- Overworking the Dough: This develops excess gluten, resulting in tough bread
- Incorrect Yeast Temperature: Always use lukewarm milk
- Uneven Chocolate Distribution: Fold chips gently to maintain dough structure
- Impatient Rising: Allow sufficient time for proper fermentation
- Overbaking: Watch carefully to prevent dry bread
Storing Tips
- Store in an airtight container at room temperature for 3-4 days
- Refrigerate for up to a week
- Freeze for up to 3 months, tightly wrapped
- Revive day-old bread by warming briefly in the oven

Conclusion
Mastering this chocolate bread recipe is about understanding the delicate balance of ingredients, temperature, and technique. With practice and these insider tips, you’ll create bakery-quality chocolate bread that will become a cherished family favorite.
FAQs
Chocolate bread recipe
Q: Can I make the chocolate bread recipe gluten-free? A: Absolutely! Use a 1:1 gluten-free flour blend and ensure all other ingredients are gluten-free.
Q: How can I tell if my yeast is still active? A: If it doesn’t become frothy after 5-7 minutes in warm milk, it’s likely expired.
Q: Can I use milk chocolate instead of dark chocolate chips? A: Yes, but dark chocolate provides a richer flavor and less sweetness.
Q: Why did my bread turn out dense? A: This could be due to old yeast, insufficient rising time, or overworking the dough.
Q: Can I make the chocolate bread recipe vegan? A: Substitute eggs with flax eggs, use plant-based milk, and choose vegan chocolate chips.
Ready to transform your baking game? Try this chocolate bread recipe and share your results in the comments below! Don’t forget to subscribe for more delicious recipes and baking tips.